
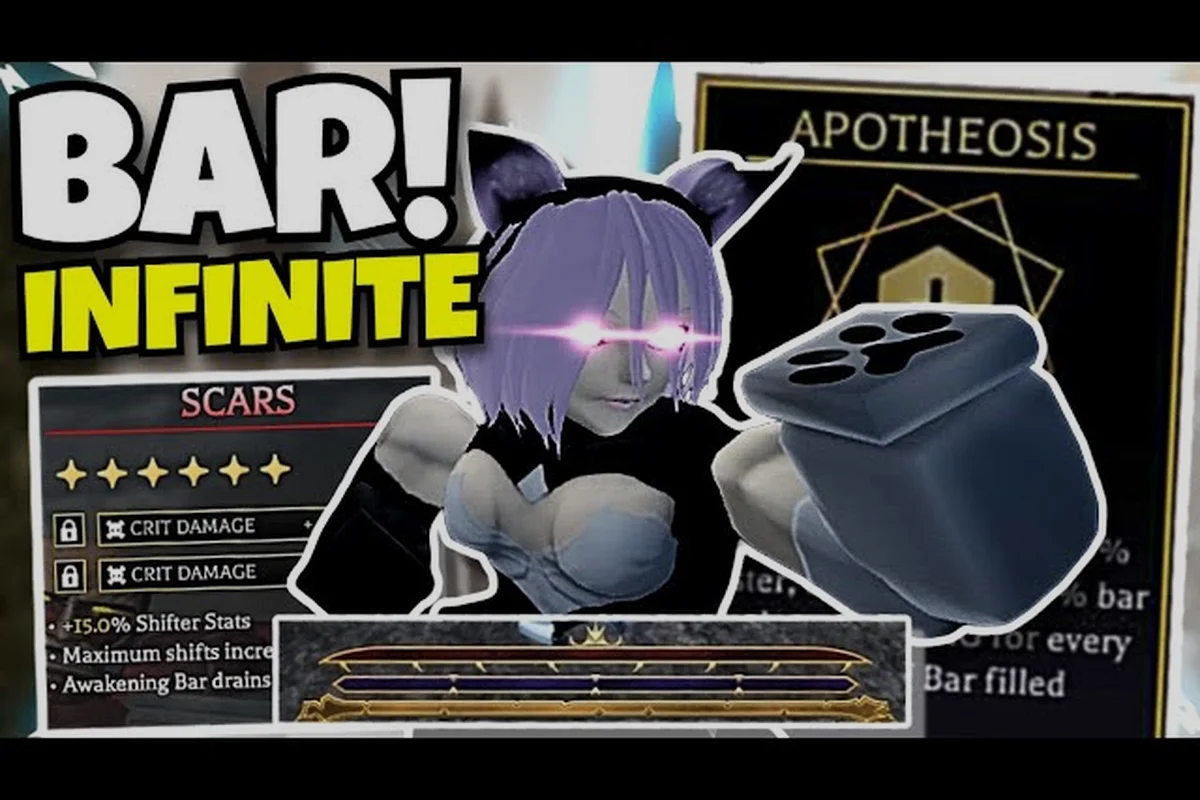
Keeping the shifter bar full in Attack on Titan Revolution matters because it determines how long you can remain in a titan form and how much pressure you can apply before returning to scout mode. Use the timing, control, and cooldown methods below to turn each transformation into a controlled burst instead of a short, wasted window.
Understanding the Attack on Titan Revolution shifter bar
The shifter bar is the resource gauge associated with a titan transformation, not a general damage meter. When you transform into a titan form, the bar gradually drains while the form remains active. If it empties, the transformation ends and you return to your scouting state, so managing that drain is the central skill for getting more value from every serum.
The official the listing on Roblox identifies shifting as a limited window in which a scout becomes a titan. Each form has its own serum, including Attack Serum, Armored Serum, Colossal Serum, and Beast Serum. The bar therefore works as a duration-and-resource system around the form you select, rather than as one universal upgrade shared by every titan.
| Shifter resource factor | What it controls | Practical consequence |
|---|---|---|
| Transformation entry | The moment you become a titan | Decide when the form is worth spending |
| Shifter bar drain | Remaining transformation time | Leave before reaching an empty bar if escape is needed |
| Gas consumption | Ability and movement use | Avoid spending every reserve at once |
| Cooldown timing | When another transformation may be available | Re-enter only after the system is ready |
| Form choice | Damage profile and available titan abilities | Match the form to the encounter |
A practical Attack on Titan Revolution how to keep shifter bar full guide starts by treating the gauge as a timer with optional spending attached. If you want to maximize damage, let the bar drain naturally while you approach a target. If the room is crowded or you need to reposition, spend gas deliberately to create distance, then stop attacking until the next safe window. Constantly attacking with no exit plan can leave the transformation ending at the worst possible moment.
The most important distinction is between active duration and useful duration. A bar that remains full for the entire fight is not automatically optimal if your character spends the first part of the transformation moving and the last part trying to escape. Your goal is to keep enough of the gauge available for the decisive attack, the setup, or the escape.
Titan forms, serums, and the right transformation choice
Choosing the right titan form is the first step toward extending a useful shift. The game tracks titan mastery separately from scout progression, so unlocking or improving a form does not depend on the same upgrade path as ordinary character levels. That makes form-specific practice worthwhile: a titan form can have its own identity, abilities, and cooldown rhythm even when your scouting equipment is already strong.
Matching form to objective
Use the form that solves the immediate problem instead of selecting the most visually impressive option. A fast, mobile form may be better for reaching an exposed target, while a durable or heavy form may be better for absorbing attention during a crowded objective. The exact values can vary by version and encounter, so test each option against the same target rather than assuming one form is universally superior. The community’s Titan Showcase is useful for comparing the visual identity and advertised role of available shifters. Treat showcased damage and unlock information as community-tested rather than official balance data, and verify your own results after each update.
| Titan form | Best use in a general rotation | Resource caution |
|---|---|---|
| Attack Serum | Direct combat and nape-focused damage | Do not spend the whole bar chasing a distant target |
| Armored Serum | Holding attention or surviving pressure | Track when protection becomes less useful |
| Colossal Serum | Heavy area pressure and objectives | Save the transformation for a clear opening |
| Beast Serum | Fast pursuit and mobile positioning | Keep gas available for movement |
For reliable damage, learn where the target’s weak point is and approach with a plan. In Attack on Titan Revolution, nape damage is the goal when the enemy permits it, so positioning matters more than simply holding down an attack. A transformation that ends while you are underneath the target can still produce useful damage, but extending the bar through careful timing usually gives you more attempts at the exposed area.
Transformation discipline
A strong transformation sequence is simple: enter, orient, commit, disengage. Enter when the route is clear, orient yourself toward the target, commit to one meaningful attack or objective, and disengage before the bar reaches a dangerous level. This process prevents the common mistake of spending the entire bar on movement while postponing the attack that matters.
| Phase | Action | Shifter-bar goal |
|---|---|---|
| Entry | Transform near a safe route | Begin with full access to the gauge |
| Orientation | Line up the weak point | Preserve gas while adjusting position |
| Commitment | Use a short, high-value attack sequence | Spend enough to create a clear opening |
| Disengagement | Retreat before the bar empties | Preserve the chance for another rotation |
The Attack on Titan Revolution titan transformation is strongest when you can predict its cost before activation. If you are waiting for a target to turn, a narrow passage, or a teammate to draw aggro, remain in scout form. If the opening is visible and the route back is short, activate the shifter and use the available time deliberately.
Gas timing and titan controls for longer shifts
Gas timing is the practical answer to keeping the shifter bar useful. The bar itself shows your remaining transformation window, while gas determines how freely you can move and use titan abilities. You do not need to hold every ability for the final second; you need to preserve enough gas to reach the nape, create separation, or leave a dangerous area.
How To Keep Shifter Bar: Read the controls before the fight
Basic Attack on Titan Revolution titan controls determine whether you can waste movement or accidentally spend a valuable ability. Practice the transformation button, movement inputs, primary attack, secondary ability, and any available dodge or special move in a safe area. The objective is not to memorize an elaborate combo; it is to know which actions consume more gas and which actions create value without consuming the entire reserve.
| Control or action | Resource effect | Better timing |
|---|---|---|
| Basic movement | Usually efficient for short repositioning | Use for small corrections |
| Chase or special movement | Can consume more gas | Reserve for confirmed openings |
| Primary titan attack | Consumes the ability window | Use against a reachable weak point |
| Secondary titan ability | Often has a cooldown or higher cost | Trigger when the target is grouped |
| Returning to scout form | Ends the current shift | Use before the bar becomes a liability |
The relevant Attack on Titan Revolution titan abilities vary by form, so test them individually. One ability may be excellent for pressure but poor for chasing, while another may reposition quickly but consume a large portion of the available gas. A short practice session is more useful than memorizing a tier list, because it teaches the relationship between your inputs and the remaining resources.
Use a three-stage gas plan
A simple three-stage plan helps answer the practical question of how to keep shifter bar full. First, reserve enough gas to reach the target. Second, reserve enough gas to execute the attack. Third, reserve enough gas to escape. Only spend the surplus after those priorities are protected. This approach often feels slower at first, but it prevents the common failure of reaching the target with no resource left to attack.
| Stage | Gas reserved for | Decision point |
|---|---|---|
| Approach | Reliable travel to the target | Transform only when the path is safe |
| Strike | Primary attack or titan ability | Spend when the weak point is exposed |
| Exit | Retreating before the bar empties | Leave while escape remains possible |
Do not confuse gas management with keeping the bar literally full. The shifter bar generally drains because the titan form is active; the best you can usually do is prevent secondary actions from shortening your effective window. If your priority is preserving the transformation for a long pursuit, reduce unnecessary movement and avoid spending the secondary ability until it creates a meaningful opening.
When scouting, use movement abilities to prepare the route before transforming. This prevents the titan form from becoming responsible for every adjustment. If you know the target is around a building, attack from the opposite angle. If the target is surrounded, wait for the crowd to move. These small scouting decisions can preserve the entire shift without changing your equipment.
Cooldown tactics for repeated titan shifts
Cooldown tactics determine whether your first transformation is the only one in a raid. A successful shift is not necessarily the most valuable shift if it leaves the next opportunity unavailable when the target appears. The best Attack on Titan Revolution titan shifter cooldown plan treats the cooldown as part of the encounter, not something to check only after the bar empties.
Plan around the next opportunity
Before transforming, identify the next meaningful target or objective. Ask whether it is worth spending the current window on the present target, especially if the next opportunity is a higher-value target or a safer interception point. If you cannot answer that question, delaying the transformation may create a better rotation later.
| Situation | Recommended approach | Reason |
|---|---|---|
| One exposed target | Transform and commit | The current opening is already valuable |
| Several distant targets | Scout and choose first | Avoid spending gas on travel |
| Crowded enemy group | Save transformation for a clear strike | Grouped enemies may waste your bar |
| Immediate retreat needed | End the shift before it fails | Preserve the scout state and safety |
| Cooldown nearly ready | Hold the next window | Avoid overlapping a risky transformation |
The difference between a good shift and a poor shift is often timing. If the bar is nearly empty and the enemy is still in front of you, pressing another ability may not create enough damage to justify losing the escape opportunity. A controlled exit can lead to a second transformation, while a forced exit often creates a cooldown with no good target available.
The guide to stealing the shift provides additional context on unlock progression and Titan Mastery. Keep those progression systems separate from your combat plan: mastering a form can improve your options, but it does not automatically solve positioning, gas timing, or cooldown decisions in the current encounter.
Use cooldown windows for scouting
When a shift ends, treat the cooldown as scouting time. Identify enemy patterns, watch for group movements, and prepare the approach angle before the next transformation becomes available. This is especially useful when the next target will be the same type of enemy, because you can learn which route reaches the nape and which area makes you waste gas.
| Cooldown activity | Practical goal |
|---|---|
| Observe enemy rotation | Learn the next target’s movement |
| Prepare a clear approach | Reduce movement inside the titan form |
| Check for a group opening | Avoid attacking an inefficient cluster |
| Locate a retreat route | Ensure the bar does not empty in a trap |
Community gameplay showcases can help with form selection, but they should be treated as demonstrations rather than exact benchmarks. The Beast Titan showcase by Captintnb, for example, provides one player’s view of the form in action. Community-reported unlock rates and balance observations can change with patches, so confirm the current version before relying on them.
Practical Attack on Titan Revolution nape damage routine
The objective of most titan shifts is not to drain the gauge while standing still; it is to convert the available time into reliable nape damage. A repeatable routine keeps the decision process clear and reduces wasted gas. It also works whether you are fighting a single elite or moving through a raid objective.
The four-stage routine
First, locate the exposed nape and estimate its distance. Second, activate the titan transformation only when you have a route that does not require random wandering. Third, use a compact sequence of movement and attacks to reach and strike the weak point. Fourth, leave before the shifter bar reaches a point where escape depends on luck.
| Step | What to do | Common mistake to avoid |
|---|---|---|
| Locate | Watch for the exposed weak point | Transforming before the target turns |
| Approach | Choose a direct, safe route | Chasing across open space with no gas plan |
| Strike | Commit a short, meaningful attack chain | Spreading damage across several weak hits |
| Disengage | Retreat while resources remain | Waiting until the bar empties |
Attack on Titan Revolution nape damage improves when you separate the approach from the attack. Walking toward a target while holding an attack may create movement animation or positioning problems, depending on the control. The safer approach is to get into range first, confirm the weak point, and then spend your strongest titan ability.
If the target is protected, do not waste the shift forcing damage. Bite or attack only when the opening exists, then create space and prepare another rotation. A failed attempt can still be useful if it teaches you the target’s attack pattern and gives you a better angle for the next shift.
Separate valuable abilities from filler attacks
Use normal attacks to finish or reposition, then reserve titan abilities for moments when they alter the target’s position, break through a defense, or create an opening at the nape. This is especially important in a crowded area because the same ability may have a different value depending on whether several enemies can interrupt the animation.
The best Attack on Titan Revolution titan abilities for a given moment are not necessarily the ones with the largest number. They are the ones that let you reach the weak point, expose it, and survive the return trip within the available bar. Test one ability at a time, then compare gas use, reach, and cooldown with a second form. The Update 5 tier list can provide context on current form preferences, although temporary events and balance changes may alter those results.
Common mistakes that empty the shifter bar
Most wasted bars come from predictable decisions rather than difficult execution. The player transforms too early, spends gas on movement, targets a protected enemy, and leaves with no useful attack. Recognizing those mistakes is often more valuable than learning a complicated combo.
Mistakes and corrections
| Mistake | Why it hurts | Correction |
|---|---|---|
| Transforming on sight | No route or weak-point plan | Wait for a usable opening |
| Spending gas on tiny corrections | Weak-point damage gets delayed | Walk first, attack second |
| Chasing a moving target | Gas drains before damage begins | Predict movement or re-scout |
| Using abilities on protected targets | The full window passes without payoff | Wait for exposure |
| Staying until the bar empties | Escape and cooldown become worse | Leave with a safety margin |
| Activating every form in one fight | Forms cannot all reach full value | Choose one primary form |
The Attack on Titan Revolution titan form you choose should match the encounter’s timing. A compact, reliable shift can outperform a longer form that spends most of its gas chasing. If your current setup is causing repeated shifter depletion, compare your routine with the game’s basic attack options and equipment before assuming the problem is the form itself.
A second common error is ignoring enemies behind you. Titan movement can carry you past a target, and the exposed nape may disappear while you reposition. Keep a quick check on nearby threats, especially when using a heavy attack with a recovery period. The safest route is not always the shortest route; it is the route that does not require spending the shifter bar to recover from one mistake.
Finally, do not expect the gauge to remain full indefinitely. The transformation has a limited window, and the resource system is designed around choosing when to enter and when to leave. The strongest players are not trying to eliminate the drain; they are making sure the bar still has useful value when the decisive moment arrives.
A repeatable shift checklist
-
Confirm that the target has an exposed nape or another valid weak point.
-
Choose a titan form whose abilities fit the immediate threat.
-
Keep enough gas for approach, attack, and retreat.
-
Identify a clear path that does not force repeated direction changes.
-
Decide whether the current target is worth the full shift.
-
Plan the exit before the shifter bar falls below a safe level.
Before activating your titan transformation, run a compact checklist. It takes a few seconds and prevents most avoidable resource losses. The goal is to arrive with a clear target, a safe exit, and an ability plan. During the shift, monitor three things in order: the target’s opening, the remaining gas, and the shifter bar. If the target exposes its nape, commit. If the target remains protected, move toward the next angle rather than firing every ability. If the bar becomes low, stop searching for a perfect angle and leave while retreat remains possible.
| Shift phase | Primary target | Secondary concern |
|---|---|---|
| Before transformation | Weak point and route | Cooldown readiness |
| Early shift | Reach the target | Avoid wasting early gas |
| Middle shift | Land meaningful damage | Preserve an exit |
| Late shift | Retreat or secure the objective | Do not chase another target |
| After shift | Re-scout and wait | Prepare the next activation |
This routine keeps the article’s central lesson practical: the shifter bar is not maximized by standing in one form as long as possible. It is maximized when every resource spent contributes to the attack, movement, or escape plan. In practical terms, a short successful rotation often produces better results than one long, indecisive transformation.
Frequently Asked Questions
How do I keep the shifter bar from emptying in Attack on Titan Revolution?
You cannot stop the bar from draining once a titan form is active, but you can extend its useful value. Transform only near a target, reserve gas for approach and escape, and avoid spending the secondary ability until the nape is exposed. Leaving early can also preserve a later cooldown opportunity.
Which titan form is best for keeping a long shift?
No single form keeps every shift longest because each has different movement, damage, and ability costs. Attack Serum offers a direct combat option, Armored Serum handles pressure, Colossal Serum supports heavy objectives, and Beast Serum favors mobile pursuit. Test the same target and measure gas use before selecting a permanent favorite.
Should I use gas before reaching the nape?
Usually not. Small movements should use the normal control that requires the least gas, while stronger movements should be saved for a confirmed route or emergency retreat. Spending too much gas on the approach can leave you unable to damage the target, so learn the distinction between ordinary movement and expensive titan controls.
Is it better to transform early or wait for a clear opening?
Waiting is usually more efficient because an early transformation spends part of the shifter bar before meaningful damage begins. Transform when the target is exposed, the route is safe, and you can attack immediately. The exception is a carefully planned raid rotation where your next opportunity will not return.
Does returning to scout form reset the shifter cooldown?
The transformation and cooldown are separate parts of the shifter system. Returning early ends the current form, but it does not mean the next activation is instantly ready. Track the displayed cooldown and use the recovery period to scout, choose the next target, and prepare a cleaner approach before shifting again.