
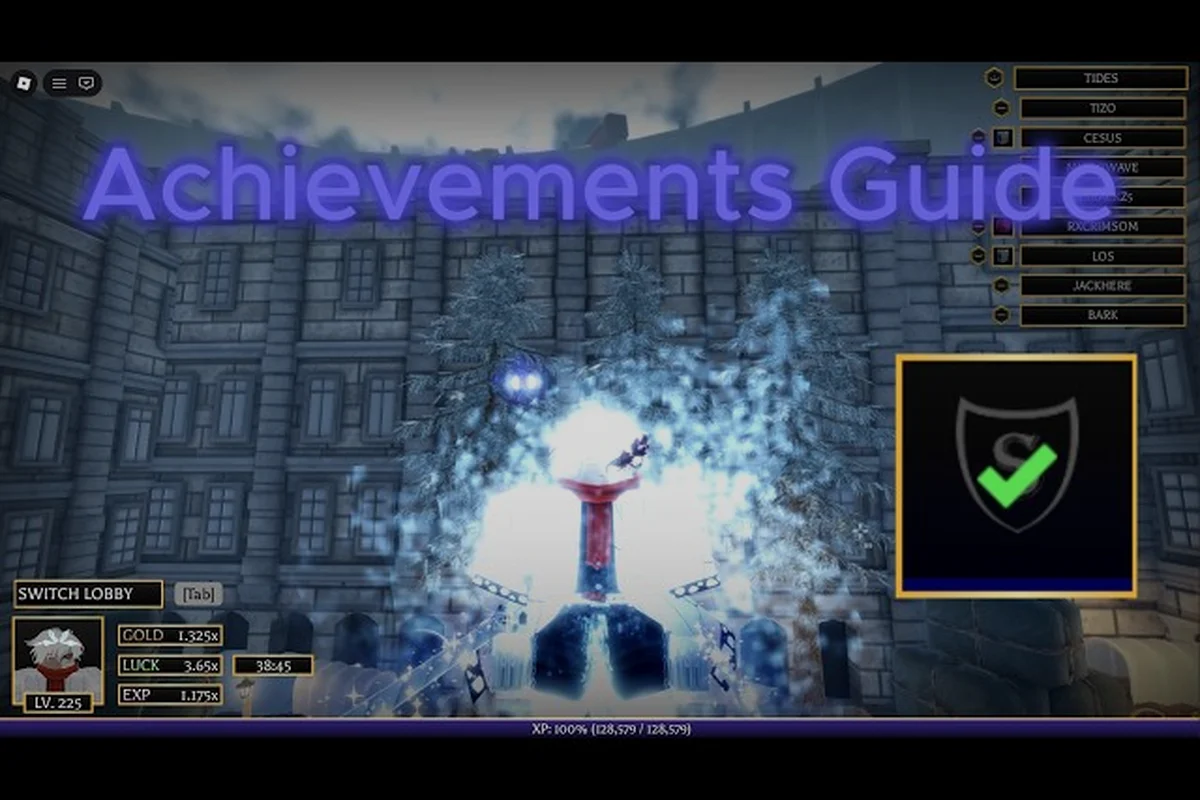
Attack on Titan Revolution achievements reward steady timing, smart resource management, and mastery of movement. This guide explains which habits help unlock difficult tasks without wasting gas, blades, or mission progress. For example, reserve ODM gas for emergency dodges and aerial repositioning rather than using it on every ordinary hook, because wasted mobility can break combo-dependent objectives. Track whether Blade and Gas rewards are being claimed from the mission or achievement screen before advancing, and use your best earned ODM gear against anti-personnel control, interior targets, and Colossus Titans, where distance and attack timing matter more than raw damage.
Achievements Overview
An achievements guide should do more than list task names. The fastest route depends on how the objective is triggered, whether you can complete it during a normal mission, and what resources remain when the encounter begins. This guide organizes the process around repeatable routines, tested combat fundamentals, and the small details that players often miss.
The key distinction is between mission-driven achievements, which require deliberate play, and combat achievements, which can be earned by improving fundamentals. Some objectives may become easier after your family roll, level, and equipment are strong enough, but relying on raw damage can still cause avoidable losses.
| Achievement type | What usually matters | Best preparation |
|---|---|---|
| Mission objective | Reach the required location or finish a defined task | Read the mission description before accepting it |
| Combat objective | Land a specific number or type of hit | Practice the core ODM attack loop |
| Survival objective | Survive a dangerous encounter with limited resources | Carry recovery supplies and avoid overextending |
| Exploration objective | Discover a hidden route or interaction | Scan the edges of each battlefield |
Players should first finish the opening mission chain, because it unlocks the basic controls and explains the intended ODM combat loop. The official Roblox experience page is the safest place to verify current availability, while community guides can help explain practical routines.
A good achievement-hunting session follows three stages: first, identify whether the trigger depends on mission progress, a specific hit count, survival time, or hidden exploration; then tailor your loadout and approach to that trigger; finally, verify that the condition registered before the mission ends. For example, a mission objective may require reaching a marked location, while a combat objective can fail to count if the required ODM attack interrupts the encounter’s final trigger, making controlled positioning and repeatable attack timing more reliable than simply dealing maximum damage.
-
Prepare by checking the objective, current equipment, gas capacity, blade durability, and mission rewards.
-
Engage efficiently by using safe angles, controlled movement, and repeatable attacks rather than charging blindly.
-
Confirm the completion before leaving the mission so a missed trigger does not waste another run.
Combat Tips
Strong achievement hunting begins with combat control. Damage matters, but positioning, stamina, and attack speed determine whether you can land a demanding number of hits before a titan reaches you. The same foundation also supports the broader Attack on Titan Revolution combat tips that help in ordinary missions.
Build a repeatable attack pattern
A reliable pattern is to grapple toward an exposed area, use a controlled arc to reach the nape or another weak point, slash, then release and reposition before the next swing. Arc-to-nape positioning keeps your approach inside the titan’s attack range while creating a short, repeatable window. After each strike, do not immediately return to the same line; a slight change of angle prevents the enemy from tracking your movement easily.
The community beginner walkthrough Ultimate Beginner’s Guide to AOT Revolution similarly emphasizes learning the grapple, arc, and nape-cut sequence before challenging larger targets. That advice matters because achievement tasks often require several successful hits in one encounter rather than one isolated attack.
| Combat habit | Practical result | Achievement benefit |
|---|---|---|
| Aim for exposed weak points | Increases damage per slash | Frees up time for multi-hit tasks |
| Release after each arc | Creates space for the next attack | Reduces interruption risk |
| Watch titan wind-ups | Makes dodging more consistent | Supports survival objectives |
| Preserve gas between bursts | Delays forced disengagement | Improves late-fight reliability |
| Check blade condition | Prevents damage from breaking early | Protects completion chances |
Use positioning before upgrading damage
The best damage upgrade cannot compensate for a poor approach. Attack from the side or rear whenever possible, keep enough room to correct a missed angle, and avoid hovering directly above a titan during its recovery animation. Side-angle entry is safer than a direct frontal approach because it creates more options if the initial strike fails.
Watch gas and blade durability closely. Community walkthroughs repeatedly identify these resources as common reasons for early runs to end, so a disciplined achievement hunter avoids wasting either one. If gas becomes low, disengage and create distance rather than attempting one more short arc with no reserve.
Dodging Guide
Dodging is not simply holding a direction and moving away. It requires reading the titan’s animation, recognizing the committed part of the attack, and choosing an escape that leads to another attack. This Attack on Titan Revolution dodging guide focuses on that decision process.
Read the wind-up, then escape
Each titan has a preparation phase before the attack lands. Use that phase to identify the intended direction, then move perpendicular to the strike rather than directly backward. Lateral escape takes you out of the active hitbox, while a straight retreat can leave you inside a wide sweep for too long.
Practice against smaller titans first, where you can clearly see the full animation. If you notice the same attack repeatedly interrupting your combo, reduce the number of grapples and focus on one controlled attack per opening. Consistency comes from recognizing patterns, not from attacking continuously.
| Dodge situation | Better response | Why it works |
|---|---|---|
| Titan swings horizontally | Move diagonally away from the arc | Avoids remaining in the sweep path |
| Titan slams downward | Create lateral distance | Reduces the danger zone under its body |
| Grapple ends too early | Use gas to correct the arc | Prevents landing beside the legs |
| Attack interrupts an air combo | Release and re-grapple | Restores control instead of drifting |
| Gas is low | Ground the movement and reposition | Preserves the last reserve for emergencies |
Use a clean reset after every mistake
After a missed cut, avoid firing another grapple immediately. A short reset gives you time to see the titan’s posture, confirm blade condition, and select the next weak point. The one-cut reset is especially useful for achievement tasks because it reduces unnecessary damage while preserving enough stamina and gas for the required combo.
If control reminders are still unclear, the Attack on Titan Revolution controls guide can help with bindings and settings. Keep the layout practical: assign functions you can reach quickly, because repeatedly opening menus during a fight wastes exactly the resources that difficult achievements test.
Hidden Mechanics and Resource Checks
The most valuable hidden mechanics are often simple preparation rules that players overlook. Before entering a mission, review the objective wording, inspect available consumables, and learn what each mission expects you to bring. This approach makes the Attack on Titan Revolution hidden mechanics less mysterious because you can spot opportunities before combat begins.
Read objectives beyond the headline
A mission may mention combat, exploration, or survival in its description. Those words often indicate the condition needed for an achievement, such as completing a target, reaching a location, or remaining alive through a specific phase. Do not assume every task can be completed by killing every enemy as quickly as possible.
The opening sequence should be completed before spending points broadly. According to the official game page information, the basic ODM controls unlock through the starting mission chain. Players also benefit from opening the family roll early because the chosen clan contributes a passive identity for the run, while the first perk rolls shape early damage and survivability.
Check what can fail quietly
Several systems may change a run without producing a clear warning, so check each objective before launching an ODM attack: gas pressure affects mobility and repeated grapples, blade durability can determine whether a combo continues, and recovery supplies determine whether a missed timing window becomes a failed achievement attempt. For example, if a mission requires several aerial strikes, spending the last gas on movement may leave no margin for repositioning; likewise, accepting a related objective or approaching the correct interaction prompt can determine whether the completion counter advances at all. These mechanics are easy to miss because the HUD may show no dedicated “failure” alert, making a quick pre-mission review of objective wording, gas, blade condition, and family perks essential.
-
Gas reserve: Low gas can strand you during a required attack sequence.
-
Blade durability: A worn blade may break before a multi-hit objective is finished.
-
Recovery supplies: Potions and similar items can preserve a run when a mistake leaves little health.
-
Mission boundaries: Leaving the permitted area can interfere with completion.
-
Objective state: Accepting related missions or interacting with the correct prompt may be necessary before combat counts.
Community walkthroughs currently identify LIKES1M400K as the only verified active code. Redeem it before a planned achievement session if available, since spins or recovery items may help with resource planning. The current code list can change, but expired codes should not be presented as useful options.
| Pre-mission check | Why it matters | Corrective action |
|---|---|---|
| Objective wording | Reveals the intended condition | Identify the exact completion trigger |
| Gas gauge | Supports repeated aerial attacks | Avoid spending gas on visual grapples |
| Blade condition | Prevents sudden loss of pressure | Finish lower-tier targets first if needed |
| Recovery items | Protects against mistake chains | Keep at least one emergency option |
| Family and perk state | Influences damage and passive bonuses | Choose upgrades around the objective |
| Mission boundary | Prevents accidental invalidation | Learn the permitted combat area |
Not every advanced feature has official confirmation. Community showcases report unlock routes for Divine perks, the Vessel, and the Beast Titan, but those details should be treated as community-tested until official patch notes confirm them. Likewise, the Warhammer Titan has appeared in older trailer footage but remains unconfirmed as playable.
Survival Tips
Survival achievements punish several common habits: fighting at maximum reach, ignoring terrain, using every consumable at the first injury, and chasing a target instead of completing the objective. These Attack on Titan Revolution survival tips create a repeatable way to handle dangerous encounters without turning every fight into a resource drain.
Protect the run before chasing perfection
The first goal is to preserve enough resources to finish the mission. Entering a fight with almost no gas or a damaged blade is risky because one missed attack can turn a recoverable mistake into a failed attempt. The three-resource check—gas, blades, and health—should happen after every major exchange, not only when a bar flashes.
Approach slower titans from an angle that gives you multiple escape paths. Watch for bodies or structures that restrict movement, and avoid fighting beside the mission boundary. When a titan is staggered, land a useful strike, then leave. Chasing extra damage may not help if it removes the safe window needed for a survival or time-based objective.
Build an emergency recovery plan
Decide what triggers a retreat before the fight starts. A useful plan is to disengage after two missed cuts, use a recovery item after the first dangerous hit, and reserve enough gas for one corrective grapple. The two-miss retreat rule prevents frustration-driven attempts that consume nearly every remaining resource.
For longer progression goals, review late-game build options after the early achievement routine becomes consistent. A stronger build can shorten certain encounters, but it should support the objective rather than replace good positioning. A heavy-damage setup still fails a survival task if it leaves you trapped with no escape.
Separate practice from mission runs
Use quiet areas to train movement, then use official missions to learn the real objective structure. The Attack on Titan Revolution wiki reference can help organize terms and progression details, while the second verified community walkthrough, Going From Noob To Pro in Roblox Attack On Titan Revolution, offers another perspective on early progression.
| Survival rule | Action | Achievement advantage |
|---|---|---|
| Preserve an exit | Keep at least one clear escape route | Reduces failed completion attempts |
| Fight near open terrain | Avoid bodies and tight structures | Makes sidestepping easier |
| Use healing rationally | Save emergency supplies for critical damage | Extends the mission safely |
| Stop after two misses | Reset instead of forcing a third attack | Protects gas and blades |
| Complete the objective | Prioritize required actions over extra kills | Matches mission-oriented goals |
Achievement Routing for Difficult Titan Encounters
A dependable route separates the achievement session from ordinary farming. The most efficient order is preparation, practice, completion, and review. This method is useful whether you are working on one troublesome task or clearing a batch of objectives before a limited-time event.
Run a short preparation loop
Begin with a low-pressure mission. Confirm that movement feels consistent, watch the gas bar through several grapples, and check blade condition after combat. Then open the achievement menu and verify the exact wording. A single ambiguous phrase can change the entire strategy, particularly when the objective counts attacks, locations, or survival duration.
The objective decomposition method is simple: turn one achievement condition into a controlled test plan. For example, if the objective requires five successful rescues, confirm whether the counter advances after every rescue or only after one uninterrupted mission. Similarly, distinguish a 60-second survival target from a total-combat timer, because searching for the last enemy can invalidate the first. This keeps gas consumption, blade condition, and the required combat or rescue action aligned with the achievement’s actual trigger.
-
Identify what must happen.
-
Identify what prevents it from happening.
-
Match every resource to that requirement.
-
Test the sequence once without chasing an extra kill.
-
Save only after the trigger appears.
Avoid locking in the strongest titan immediately, because a high-damage build can create problems for achievement-specific runs: it increases enemy attention, drains ODM gas during grapples, and may leave fewer resources for rescues or survival objectives. For example, if an achievement tracks successful rescues, prioritize maneuverability and reliable rescue timing over raw attack power; reserve a damage-heavy setup for combat conditions where every enemy defeat is actually required.
Adapt when the objective changes
Some encounters require speed, others require endurance. If survival is the condition, fight at a distance and prioritize safe angles. If multiple hits are the condition, use the first opening to establish a controlled combo. If exploration is the condition, disengage from the enemy and inspect the area instead of clearing the battlefield. Players who also work toward raids can check raid requirements separately. Raid readiness and achievement objectives may overlap, but an objective that can be completed during a standard mission should not be delayed unnecessarily.
| Encounter condition | Best first choice | Avoid |
|---|---|---|
| Survive a phase | Preserve gas and keep distance | Overextending for damage |
| Land several hits | Use a reliable arc-cut-reset loop | Missing repeatedly |
| Reach a location | Prioritize navigation | Fighting every nearby enemy |
| Protect a resource | Attack only safe openings | Using every healing item early |
| Finish within a limit | Pre-plan the first grapple | Wandering before finding the target |
Final Achievement-Hunting Checklist
Before leaving, confirm that the objective wording matches what you are doing, that you have reached the required interaction point, and that you survived any specified phase. In combat, count meaningful hits rather than visual swings, because an incorrect target may not register toward a task that asks for a particular hit.
Resource discipline provides the final advantage. Keep one gas reserve for recovery, watch blade condition, and avoid consuming healing items before the dangerous part of the mission. The verified LIKES1M400K code may support resource preparation, while the family roll and early perks determine how efficiently your account handles repeated attempts.
Track each attempt against the achievement’s stage-by-stage requirements so a failed interaction cannot be mistaken for progress. For example, an objective completed after the final titan phase may require reaching that phase with sufficient gas for the full grapple-arc-cut route, not merely landing one hit. If the trigger depends on surviving until the encounter ends, retreating early—even after satisfying the damage requirement—can prevent completion; in that case, preserve one gas reserve, avoid premature healing, and prioritize the titan’s weak point over extra damage.
- Read the exact achievement condition.
- Check gas, blades, health, and consumables.
- Practice the grapple-arc-cut loop.
- Keep one escape route available.
- Prioritize the objective over extra damage.
- Confirm the completion trigger before leaving.
- Review community-tested details separately from confirmed features.
This attack on Titan Revolution achievements guide turns difficult tasks into manageable routines. By combining precise movement, deliberate resource checks, and objective-specific tactics, you can make each attempt count and steadily build the combat habits needed for the toughest titan encounters.
Frequently Asked Questions
What is the fastest way to complete difficult achievements?
Focus on one objective at a time and practice its required action during a low-pressure mission. The fastest approach combines a readable objective, a safe attack angle, and enough gas and blade durability to recover from mistakes. Repeatedly replaying a mission without adjusting your route usually takes longer than fixing the underlying problem first.
Which Attack on Titan Revolution hidden mechanics help with achievements?
The most useful preparation mechanics are early mission completion, the family roll, perk choices, mission boundaries, and resource monitoring. Some advanced unlock routes remain community-tested rather than officially confirmed, so verify current information before planning around them. Checking the exact task wording also helps identify interactions that ordinary combat may overlook.
How do dodging skills improve combat performance?
Better dodging creates more attack openings while protecting gas, health, and blade condition. Read the titan’s wind-up, escape laterally instead of retreating directly, and reset after a missed cut. This approach is more reliable than continuously attacking, especially during tasks requiring several successful strikes or sustained survival.
Should I spend achievement points on damage first?
No single upgrade should be chosen without considering the objective. Damage can shorten fights, but movement, durability, and recovery help you preserve opportunities across repeated attempts. Test the fight, identify your actual failure point, and then improve the stat or passive that addresses it instead of relying on brute damage alone.
Are clan passives necessary for completing achievements?
They can make progression smoother, but they do not replace good positioning or resource management. The family roll establishes a passive identity early, while perks and later upgrades affect damage and survivability. Confirm the current family options and any advanced unlock requirements separately because community reports can change with updates.